How to record instruments in Serato Studio
Serato Studio 1.6 introduces the ability to record live instruments. Bringing new textures and layers to your beats with guitars achieves a feel that is hard to replicate with software instruments.
This comes with some increased complexity, mostly with the preparation required. We wanted to walk you through the recording process when you’ve got a guitar on hand, so you don’t have to break your creative stride and google it while you’re in the zone.
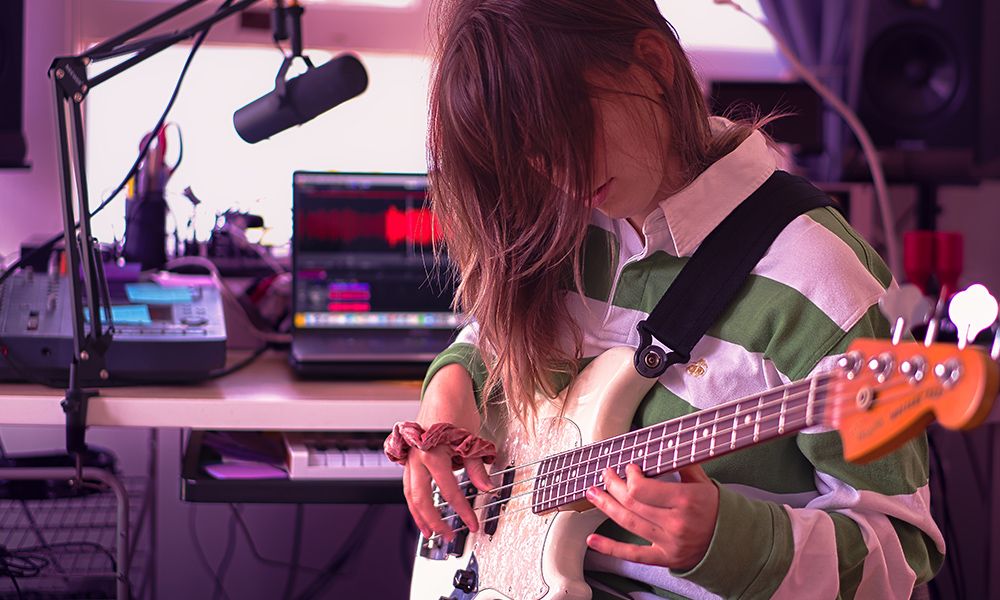
The set-up
Get your soundcard and guitar plugged in. Make sure your soundcard is selected as the audio input, and the source is set to the input you’ve plugged the instrument into. Once you’re all patched in, add a new audio track. You can turn on input monitoring to check the signal is coming through and hear practice takes.
Before you hit the red button, it’s really important to check your levels. You want the audio to be loud enough to work with, but not so much that it’s clipping and coming through distorted. You can adjust this via the input level on your sound card.
Once you’re happy with how it sounds coming through, turn your metronome on. This will give you four counts in, and help you stay in time throughout tracking.
Tracking
You’re ready to go! Record until you’re happy with how it sounds. If there are any specific parts you feel like you need to nail, you can punch in (record over) that area until it sounds ace.
You’ll notice that the audio renders in colored waveforms in Serato Studio. This tells you the range in audio frequencies – red for low, green for mid, and blue for high. If you’re a visual person, this will be really helpful when you’re EQing.
Editing/EQing
Start off by tidying up your audio. Truncate the clip by dragging the start and finish points inwards to remove the excess. Once you’ve done so, you can begin to arrange it. You can add Cue Points where you see fit, split the audio clip up, or duplicate it by hitting Command+D.
When it comes to EQing guitars, the guitar itself informs what kind of treatment will be necessary. The natural tone of the instrument will be really influential in how it ends up sounding, so it’s important to choose wisely from the outset.
You’ll want to remove a lot of the unnecessary low frequencies, as that space will be occupied by the bass. Make sure to move the knobs until you find some harsh frequencies, and then counter it by reducing the knob until it sounds clean. This is particularly important with high frequencies. The mid range is where the majority of the guitar will be, so EQ to taste. A lot of the process will be fine tuning until you’re happy – it’s not often an exact science and processes differ depending on the instruments used and the sound you’re trying to emulate.
FX
You can add up to six FX to your audio in Serato Studio. Try to use FX that will serve the song well, not just sound cool when the instrument is solo’d. You want FX to enhance textures and feel, not stick out above the rest. It’s important to note that they will feed into each other the way you order them, which will affect the final result.
Plugins
Plugins aren’t a make or break. Serato Studio comes with a whole range of built-in audio effects and processors that will serve you well. If you are planning on using some third-party plugins, here’s some recommendations.
Compression: you’ll definitely want to compress your guitar to make it sound more blended and even. The CLA-2 by Waves Audio is fantastic and easy to use. This will also allow you to sidechain the guitar to another layer if you wish.
Saturation: this will give your instrument a more analog feel. This is great if you’re making lofi/organic beats, as it will take your guitar away from sounding too digital.
Amp simulators: Plugins like Guitar Rig or GTR provide digital simulations of real amps. If you’re after a specific tone, this can be a great option. It’s a much longer process to try and emulate amp’s from scratch.
Saved Audio
Any audio you’ve recorded will be saved in the Library in this Audio Tab in your Recordings crate, so you can easily find it again to sample or use in other tracks.